Faviconジェネレーター完全ガイド:サイズ、形式、ブラウザ表示のコツ
Faviconジェネレーター完全ガイド:サイズ、形式、ブラウザ表示のコツ
このガイドは、概念だけでなく実際に作業を終えたい人向けです。目的は、ブラウザ上の適切なツールを選び、読みやすい出力を得て、書き出し後の手直しを減らすことです。
シンプルな画像から始める
プライベートで軽い作業手順が必要な場合は、本文中のAnything Toolsページを使えます。対応ツールではブラウザ内で処理でき、変換後にサイズ変更や圧縮へ進めます。 Use Favicon Generator when the page itself needs to become an image, then compare the result with your real publishing target.
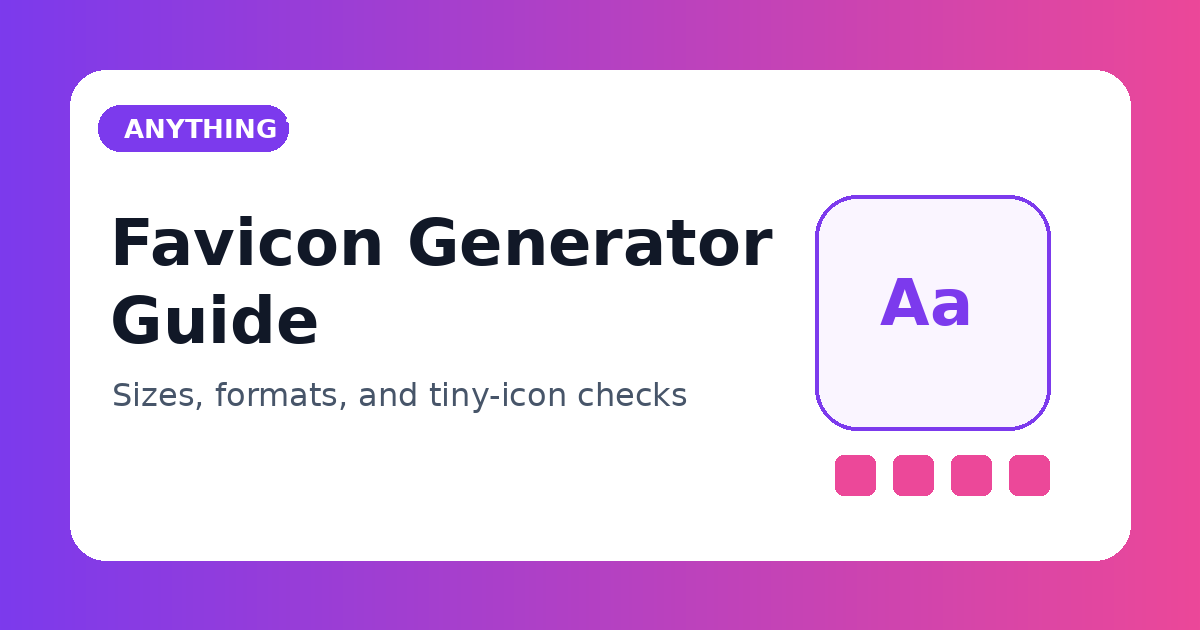
推奨faviconサイズ
まず画像の用途を決めましょう。ドキュメント用のスクリーンショット、サイト用アイコン、ECの商品画像では、容量、透明度、シャープさの優先順位が異なります。 If the exported asset must keep sharp text, flat graphics, or transparent edges, test it before choosing a smaller file.
書き出し前にコントラストを確認
- Open Favicon Generator and export a sample page.
- If you need another format, continue with Color Picker.
- Resize or compress only after checking readability.
- Keep the original file until the final image has been approved.
各アイコンの使い道
書き出し後は拡大して重要な部分を確認します。文字、枠線、ロゴ、透明な縁は、ファイルサイズだけを見るより品質問題を見つけやすい場所です。 For sharing by email, documentation, or CMS upload, run a final pass through Image Resizer only when the visual result still looks clean.
最終チェックリスト
結果が期待通りでない場合は、一度に一つの設定だけを変えてください。原因が元ファイル、出力形式、圧縮、寸法のどれかを判断しやすくなります。 Save the final version with a descriptive file name, and add the related tool link in your internal checklist so the same workflow can be repeated later.
関連記事
Die Besten Kostenlosen Online-Farbwähler-Tools in 2026
Entdecken Sie die besten kostenlosen Online-Farbwähler für Designer und Entwickler. Vergleichen Sie Funktionen, Formate und Barrierefreiheitsprüfungen.
Favicon-Generator Leitfaden: Größen, Formate und Browser-Tipps
Erstelle ein zuverlässiges Favicon-Set, wähle die Ausgangsgrafik, prüfe den Kontrast bei kleinen Größen und bereite Icons für moderne Browser vor.