How to Reduce Image File Size Without Losing Quality
How to Reduce Image File Size Without Losing Quality
Large image files slow down websites, eat storage space, and frustrate users. The good news? You can dramatically reduce file sizes while keeping images looking perfect. Here's how.
Why Reduce Image File Size?
Faster Website Loading
- Every 100KB adds ~0.1 second load time
- 3+ seconds = 40% visitor bounce rate
- Google ranks faster sites higher
Reduced Storage Costs
- Cloud storage: $0.023/GB/month adds up
- 1000 photos × 3MB = 3GB
- Compress to 500KB each = 500MB (save 83%)
Better User Experience
- Quick thumbnails in galleries
- Faster email sending
- Easier social media uploads
The Science of Image Compression
Lossy vs Lossless
Lossy Compression:
- Removes data permanently
- Much smaller files
- Works great for photos
- Examples: JPG, WebP (lossy), AVIF
Lossless Compression:
- Preserves all data
- Moderate size reduction
- Best for graphics/text
- Examples: PNG, WebP (lossless)
Quality vs Size Sweet Spot
For photographs:
| Quality Setting | Typical Size | Visual Quality |
|---|---|---|
| 100% | 2.5 MB | Perfect |
| 95% | 1.2 MB | Indistinguishable |
| 85% | 500 KB | Excellent |
| 75% | 300 KB | Very Good |
| 60% | 150 KB | Noticeable artifacts |
Sweet spot: 80-85% quality - best size/quality ratio
Method 1: Choose the Right Format
This is the #1 factor affecting file size.
Photography: JPG or WebP
Original RAW: 25 MB
As PNG: 8 MB
As JPG (85%): 600 KB  ← 13x smaller
As WebP (85%): 400 KB ← 20x smaller
Graphics/Logos: PNG or SVG
Logo as JPG: 120 KB (blurry edges)
Logo as PNG: 50 KB (crisp, transparent)
Logo as SVG: 5 KB (unlimited scaling)
Modern Websites: WebP or AVIF
Photo as JPG: 600 KB
Same as WebP: 400 KB (-33%)
Same as AVIF: 280 KB (-53%)
Action: Convert old JPGs to WebP for instant 25-35% reduction.
Method 2: Resize Dimensions
Oversized images waste bandwidth.
Size Requirements
| Use Case | Recommended Size |
|---|---|
| Social media | 1200 x 630 px |
| Blog featured | 1200 x 800 px |
| Product thumbnail | 500 x 500 px |
| Full screen background | 1920 x 1080 px |
| Print (8x10) | 2400 x 3000 px |
Impact Example
4000 x 3000 px @ JPG 85%: 2.1 MB
1920 x 1440 px @ JPG 85%: 480 KB ← 77% smaller
Action: Resize images to their actual display size, not bigger.
Method 3: Remove Metadata
Photos contain hidden data eating up space:
- Camera settings (EXIF)
- GPS location
- Thumbnails
- Color profiles
Metadata Size
A typical phone photo has:
- Image data: 2 MB
- Metadata: 50-200 KB
Action: Strip metadata for web images (privacy bonus too).
Method 4: Use Compression Tools
Online Tools (Free)
- Anything Tools Converter - Convert formats + automatic optimization
- Squoosh.app - Visual quality comparison
- TinyPNG - Excellent PNG/JPG compression
Desktop Software
- ImageOptim (Mac) - Lossless compression
- FileOptimizer (Windows) - Multiple formats
- RIOT (Windows) - Visual quality control
Command Line
# JPG optimization with jpegoptim
jpegoptim --strip-all --all-progressive -m85 *.jpg

# PNG optimization with oxipng
oxipng -o 3 *.png

# WebP conversion with cwebp
cwebp -q 80 input.jpg -o output.webp
Method 5: Optimize for Specific Uses
For Websites
Goal: Under 200KB per image, 100KB for thumbnails
Steps:
- Resize to actual display dimensions
- Convert to WebP with JPG fallback
- Use lazy loading
- Implement responsive images
<picture>
  <source srcset="image.avif" type="image/avif">
  <source srcset="image.webp" type="image/webp">
  <img src="image.jpg" loading="lazy" alt="Description">
</picture>
For Email
Goal: Under 1MB total, 300KB per image
Steps:
- Resize to 600-800px width
- Use JPG at 75-80% quality
- Test in multiple email clients
- Consider hosted images for large campaigns
For Social Media
Goal: Platform-optimized sizes, JPG format
| Platform | Recommended |
|---|---|
| 1080 x 1080 px, JPG | |
| 1200 x 630 px, JPG | |
| 1200 x 675 px, PNG for graphics | |
| 1200 x 627 px, JPG |
For Storage/Archive
Goal: Balance quality and space
- Important photos: Keep original + compressed version
- General photos: 90% quality JPG
- Screenshots: PNG (lossless)
- Documents: PDF or PNG
Real-World Compression Results
Case Study: E-commerce Site
Before optimization:
- 50 product images
- Average 3 MB each
- Total: 150 MB
- Page load: 8.5 seconds
After optimization:
- Same 50 images
- Average 280 KB each
- Total: 14 MB (90% reduction)
- Page load: 1.8 seconds
Method used:
- Resized to 1200x1200 max
- Converted to WebP
- Used JPG fallback at 85%
Case Study: Photography Portfolio
Before:
- 200 portfolio images
- RAW exports to PNG
- 1.6 GB total
After:
- Same images, JPG at 90%
- 80 MB total (95% reduction)
- No visible quality difference at screen sizes
Common Mistakes to Avoid
1. Over-Compression
Mistake: Using 50% quality to get tiny files Result: Visible blocking, blurring, banding Fix: Stay above 75% for photos
2. Wrong Format Choice
Mistake: Saving photos as PNG Result: 5-10x larger than necessary Fix: Use JPG or WebP for photos
3. Ignoring Dimensions
Mistake: Using 4000px images for 400px thumbnails Result: 10x bandwidth waste Fix: Generate appropriately sized versions
4. Compressing Already Compressed
Mistake: Re-saving JPGs multiple times Result: Quality degrades with each save Fix: Keep originals, compress once
5. Forgetting Retina Displays
Mistake: Using 1x images on high-DPI screens Result: Blurry images on modern devices Fix: Provide 2x versions for key images
Quick Reference: Compression Cheat Sheet
Photo of People/Products
- Format: JPG or WebP
- Quality: 82-88%
- Size: Display size × 2 (for retina)
Logo/Icon
- Format: SVG (vector) or PNG (raster)
- Quality: Lossless
- Size: Smallest that looks sharp
Screenshot
- Format: PNG (lossless) or WebP (lossless)
- Quality: 100%
- Size: Actual screenshot dimensions
Background Texture
- Format: WebP or JPG
- Quality: 70-80%
- Size: Tile as small as possible
Social Media Post
- Format: JPG
- Quality: 85-90%
- Size: Platform recommended
Tools Comparison
| Tool | Best For | Compression | Ease of Use |
|---|---|---|---|
| Anything Tools | Format conversion | ⭐⭐⭐⭐ | ⭐⭐⭐⭐⭐ |
| Squoosh | Visual comparison | ⭐⭐⭐⭐⭐ | ⭐⭐⭐⭐ |
| TinyPNG | PNG/JPG batch | ⭐⭐⭐⭐ | ⭐⭐⭐⭐⭐ |
| ImageOptim | Lossless Mac | ⭐⭐⭐ | ⭐⭐⭐⭐⭐ |
| Command Line | Automation | ⭐⭐⭐⭐⭐ | ⭐⭐ |
Conclusion
Reducing image file size doesn't mean sacrificing quality. The key strategies are:
- Choose the right format (WebP > JPG for photos)
- Resize to actual needs (don't serve 4K for thumbnails)
- Use appropriate quality (80-85% is the sweet spot)
- Convert to modern formats (WebP, AVIF for web)
Quick wins:
- Convert PNG photos to JPG: 60-70% reduction
- Convert JPG to WebP: 25-35% reduction
- Resize to display size: 50-80% reduction
Ready to optimize your images?
- PNG to JPG Converter - Reduce PNG file sizes
- JPG to WebP Converter - Modern web format
- All Image Tools - Complete toolkit
Last updated: February 2026
Related Posts

So erstellen Sie QR-Codes für Speisekarten und Poster: Ein kompletter Leitfaden
Stärken Sie Ihr Geschäft, indem Sie individuelle QR-Codes für Ihre Speisekarten und Veranstaltungsplakate erstellen. Erfahren Sie, wie Sie im Jahr 2026 sichere und hochwertige QR-Codes generieren.
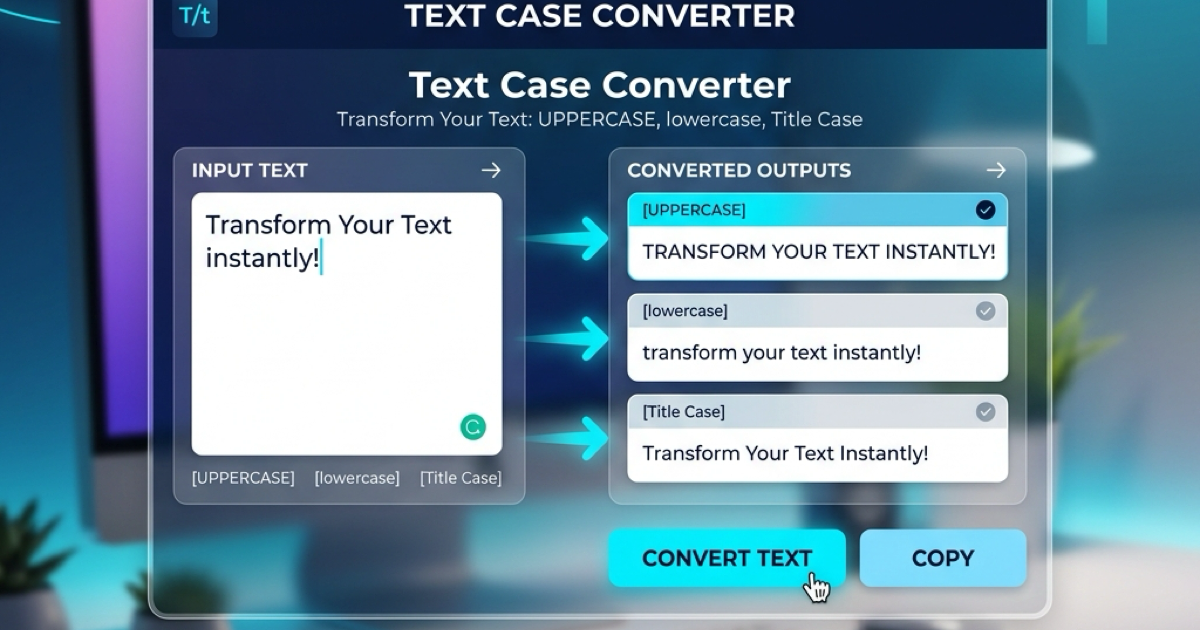
So verwenden Sie den Groß-/Kleinschreibung-Konverter für eine bessere Inhaltsformatierung
Erfahren Sie, wie Sie Text sofort zwischen Großbuchstaben, Kleinbuchstaben, Titelformat und mehr umwandeln können. Verbessern Sie Ihren Schreibworkflow mit unserem Online-Textkonverter.